Some of the painting by numbers kits you can get require no blending at all, and some would say those are the best ones.
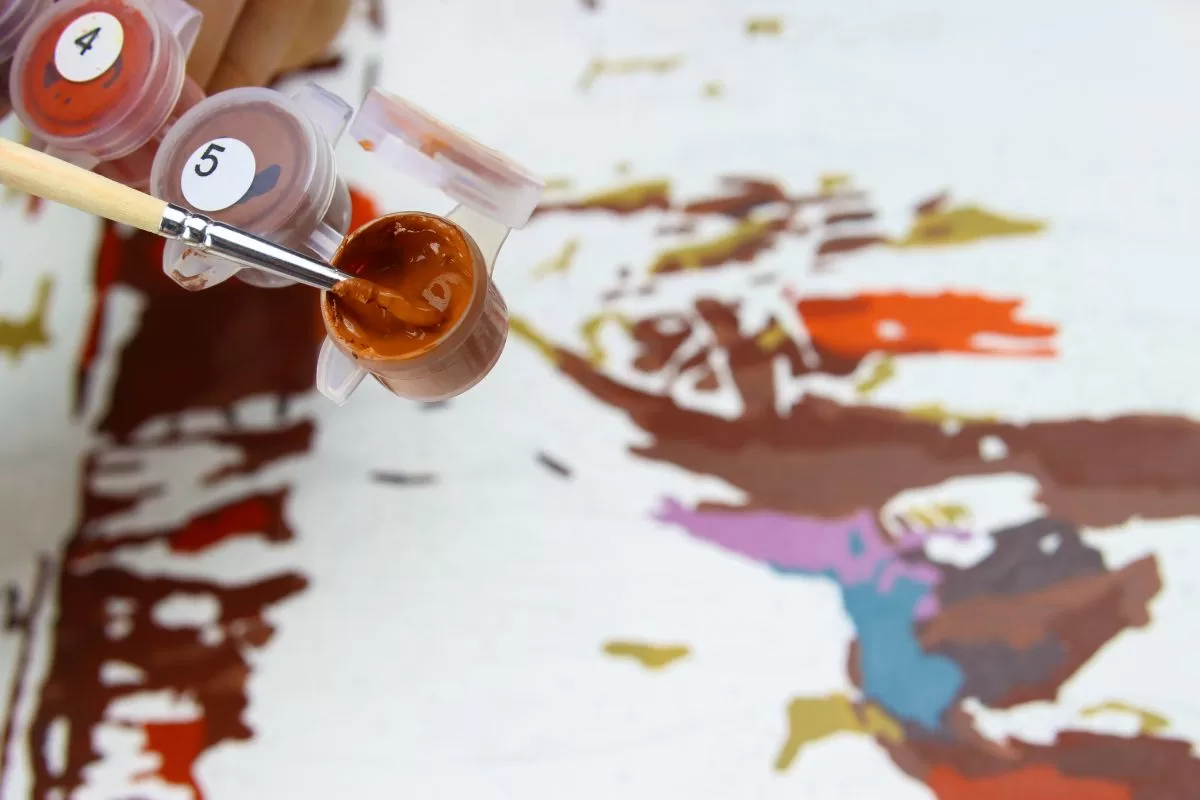
And it’s true, such kits are great for beginners who are not yet ready to start the task of blending colours together.
But, if you do feel ready to take your painting to the next level, then learning how to blend your colours can really improve the overall look of your painting, making it look much more realistic, if that’s the look you’re going for.
Perfected blending of colours can make your paint number pictures appear much more sophisticated, and admirers of your work may be inclined to believe that you are a skilled painter and artist, and that the picture was not a paint by numbers kit after all.
In this article, I’m going to walk you through everything you need to know about blending colours for your next paint by numbers project, and answer some of your most frequently asked questions along the way.
And without further ado, let’s get straight to it!
Let’s start with the basics…
How Blending Colours Can Enhance Your Painting?
Whether you want to paint a beautiful landscape, or an up-close-and-personal portrait, blending certain colours together can really enhance and improve the overall look, effectively creating a more gradual transition between light and shade, for a more realistic finish.
You can highlight one part, making it really stand out and be the first thing everyone sees when they look at it. And at the same time, you can have more subtle effects, making another part seem to blend into the background.
It’s the perfect technique for sunsets and sunrises, and it also suits countryside scenes as well, where dappling sunlight can bring out all the different greens of a forest or mountain.
You can make something look paler or darker or give it a whole new tone, complimenting some colours and providing a better contrast for others.
But most of all, it really adds subtlety and softness to the lines in the painting where necessary.
If you’re still relatively new to painting by numbers, please don’t be intimidated by the idea of blending your colours together.
It’s easier to do than you might imagine, and it’s the next natural step once you’ve mastered the beginner level.
Best Paints And Other Tools For Blending
Paints
It’s always best to use good quality acrylic or oil paints. The only real difference between the two is how long they take to dry, with oil paints taking the longest.
Brushes
You should use a good quality flat wash brush for painting background images, and use a thinner, fine-tipped brush for the finer details.
Other Tools
You will also need your paint palette, and some water.
Blending Techniques
There are a variety of blending techniques you can use to take your paint by numbers kit to the next level, and I will walk you through them one by one.
Technique 1: Wet On Wet
For wet on wet methods, you blend the colours together as you apply them to the canvas, adding small amounts of the next colour at each transition.
This is the quickest method, and is incredibly effective at producing a smooth and easy transition of colour. But, you will have to work quickly because acrylic paints can dry quite quickly.
Horizontal Wet On Wet Blending
This is a great technique for backgrounds such as sunsets or skies.
You simply choose two colours and blend them in gentle horizontal strokes, starting with the darkest colour before moving to the next darkest colour. The aim is to let the colours overlap a little to create a gradual colour fade effect.
And for the best possible results, remember – don’t wash your brush between colours!
Circular Wet On Wet Blending
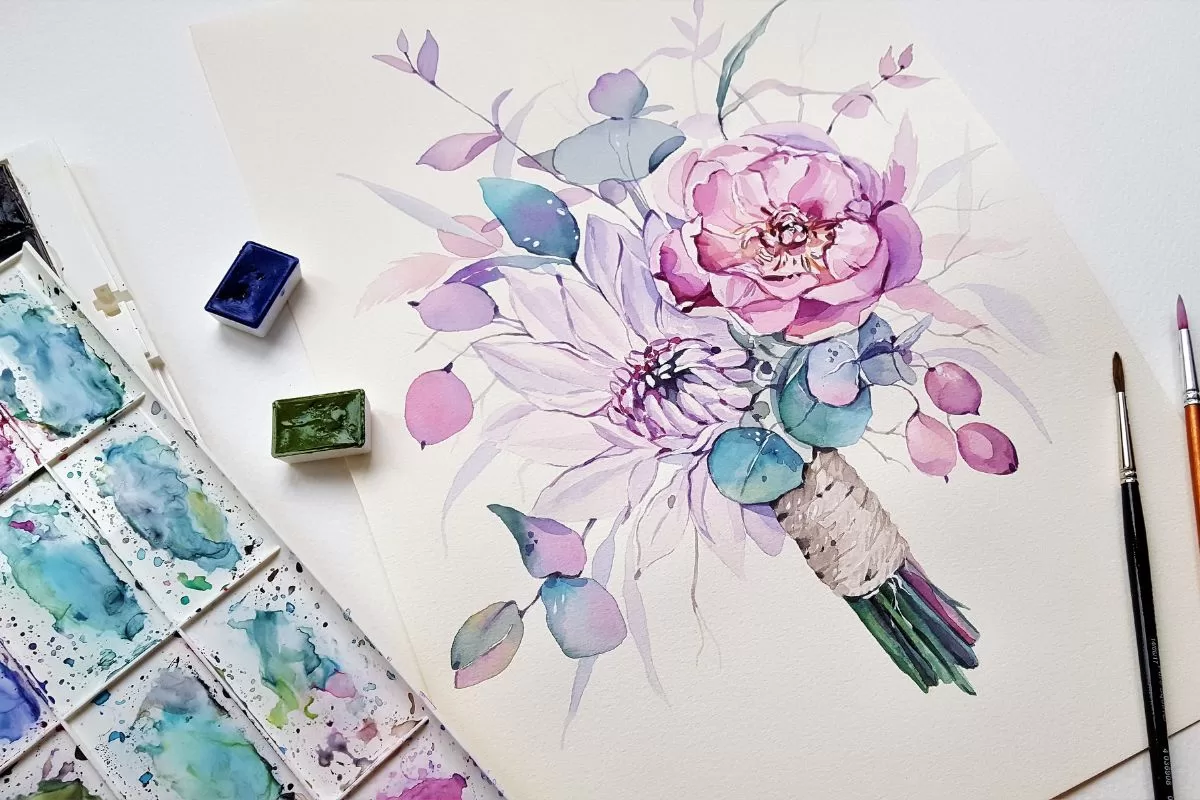
This technique involves gently blending two or more colours in circular motions.
In contrast to the previous technique, in this instance you should start with the lightest colour, and always being in the centre of the canvas, using gradually darker colours as you progress outwards towards the edges.
Again, you should keep using the same brush for each transition.
Technique 2: Wet On Wet Double Loading
Double loading is basically when you load your flat brush with the two colours you want to blend together. And it can produce a much bolder effect than traditional blending. Here’s how to do it…
You should first load it with the darkest colour before dipping one corner in the white. Then you use the full width of the brush on the canvas.
The idea behind this method is to blend the two colours, but hold back from fully merging them. Remember to take your time with it, and simply repeat the brush strokes as required.
The great thing about this technique is that you don’t have to paint in just one direction, you can zigzag, criss-cross, or however your artistic flair wants to come out.
Technique 3: Wet On Dry
And last but not least, we’ve got the method where fresh paint is added over paint that is either already dry or semi-dry.
This is the sort of technique you can perform when the painting is technically finished, but you feel that you can make it look even better with a little blending.
It can be particularly handy if you’ve made a minor error, and you decide it would look better if one area is either slightly darker or lighter. Or if you think you have blended too much of one colour with another one.
You can restore the overall balance simply by using gentle brush strokes.
And the other great thing about this technique is that you don’t have to work as fast as you have to with the wet on wet techniques.
Bonus Paint By Numbers Blending Tips And Tricks
Here are some handy tips and tricks to help you.
Tip 1: Pick An Easy Paint By Number Kit To Start With
For beginners, we recommend using a kit with big individual sections, and fewer paints and numbers. You could even use a kid’s kit if you wish.
Tip 2: Try Not To Overpaint
We know just how tempting it can be to just keep going, but when the muse hits, however, too much paint on the canvas can make it look unsightly if you’re not careful.
Take your time, and remember you can always do the wet on dry technique if you need to later on.
Tip 3: Start Off With The Lighter Shades Wherever Possible
Lighter shades tend to be easier to blend together than darker ones, and make it easier to produce a seamless transition that doesn’t look too patchy.
Tip 4: Be Careful To Use The Right Type Of Brush
You should use a good quality flat wash brush for painting background images, and use a thinner, fine-tipped brush for the finer details.
Wrap Up
We hope that you’ve found this article helpful and encouraging, and that you decide to give one or two of these techniques a try.
We’ve said it before, but it bears repeating here – it can take your painting by numbers to a whole new level!


![How To Completely Cover The Numbers In Paint by Numbers [Helpful Hacks]](https://paintmynumbers.co.nz/wp-content/uploads/2022/12/How-To-Completely-Cover-The-Numbers-In-Paint-by-Numbers-Helpful-Hacks-1080x675.webp)