Painting by numbers can be both a healing therapy and a way of expressing yourself in a fun and practical way, but when you start, you may not know how to use water for paint by numbers, as it can be a headache to work out if you need to use it on the canvas or not.
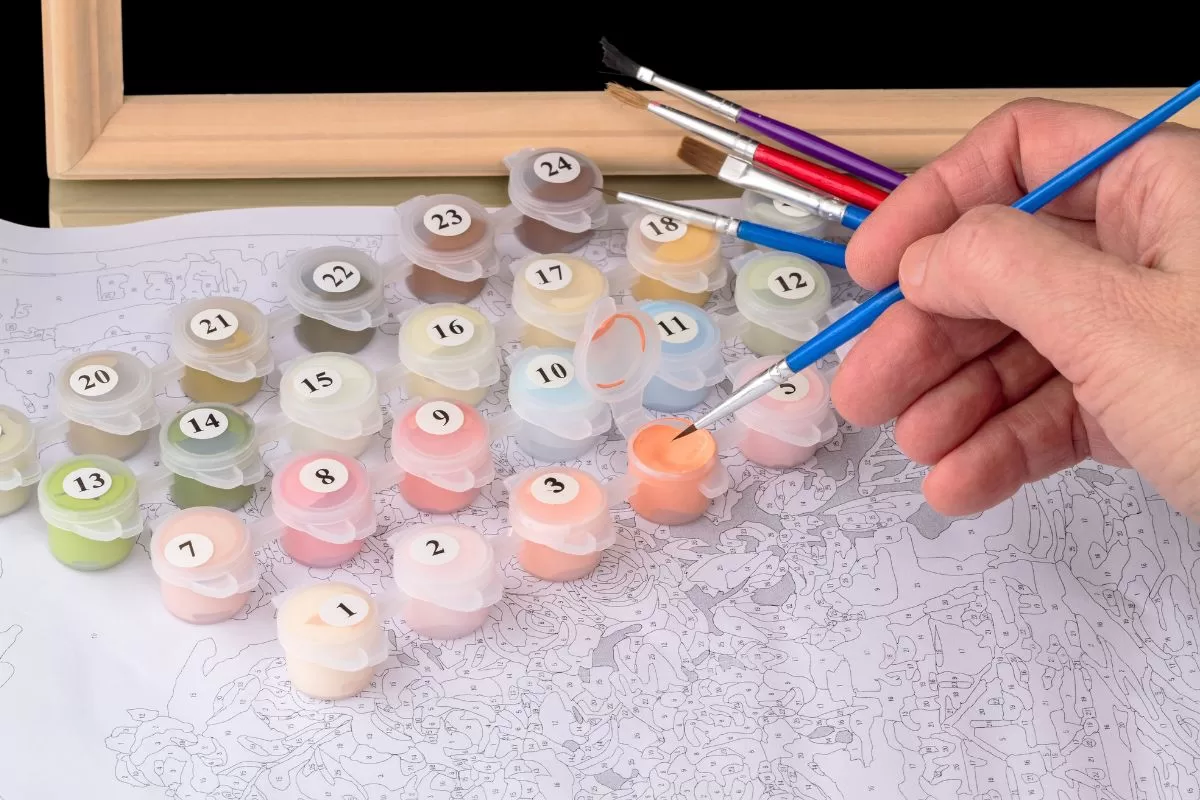
Even though you can use water to clean your brushes and make your paints easier to work with, you don’t really need to use the water for any other purpose, and it may leave you with a negative experience if it ruins the outcome of your painting.
That is why we have devised a guide on how you can use water for the best results, and over time, you’ll become more confident in your painting.
How much Water Do I Need?
For this, you only need a cup or two of water, or you can even use a small dish if you’re doing smaller and more intricate work, as the water here only serves to clean off any paint that might mix with the next colour you use.
For example, if you’re using white and need to use a darker colour, like red, this could mix with it and give you a lighter shade of red that is closer to pink.
This works the other way around, as there might be large areas of the painting that only need white, so you don’t want to end up with specks of different colours getting in the way.
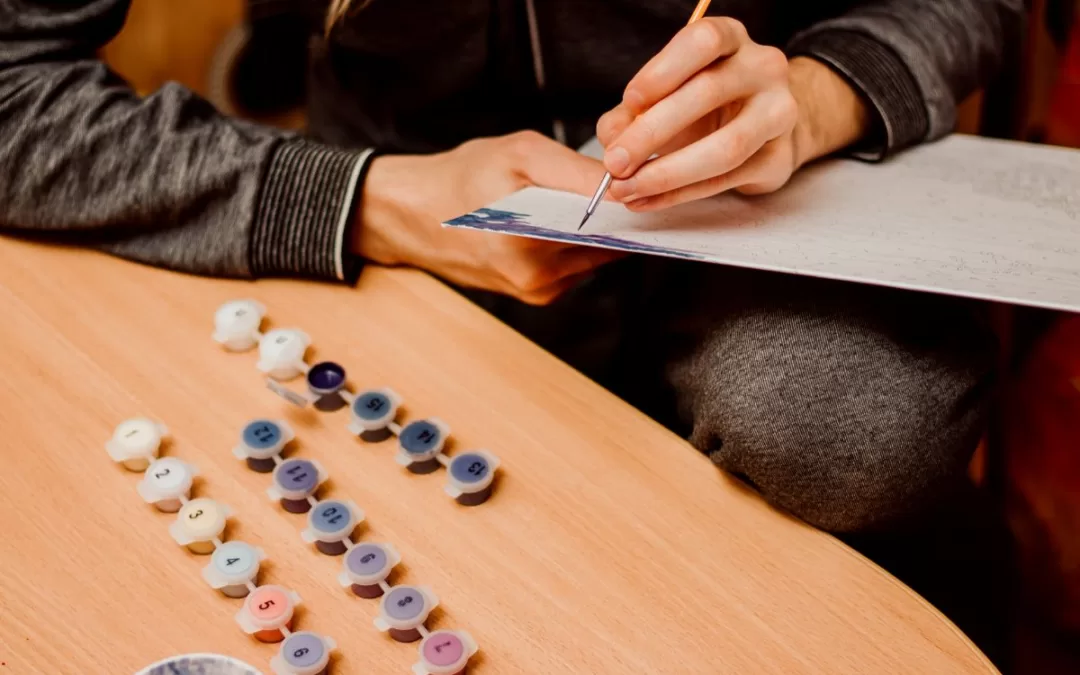
When you need to mix colours, you may want to use a separate mixing surface, so you don’t taint the other hues inside their pots, where you can turn back to this mix if you need to later on.
Adding Water To Your Paint
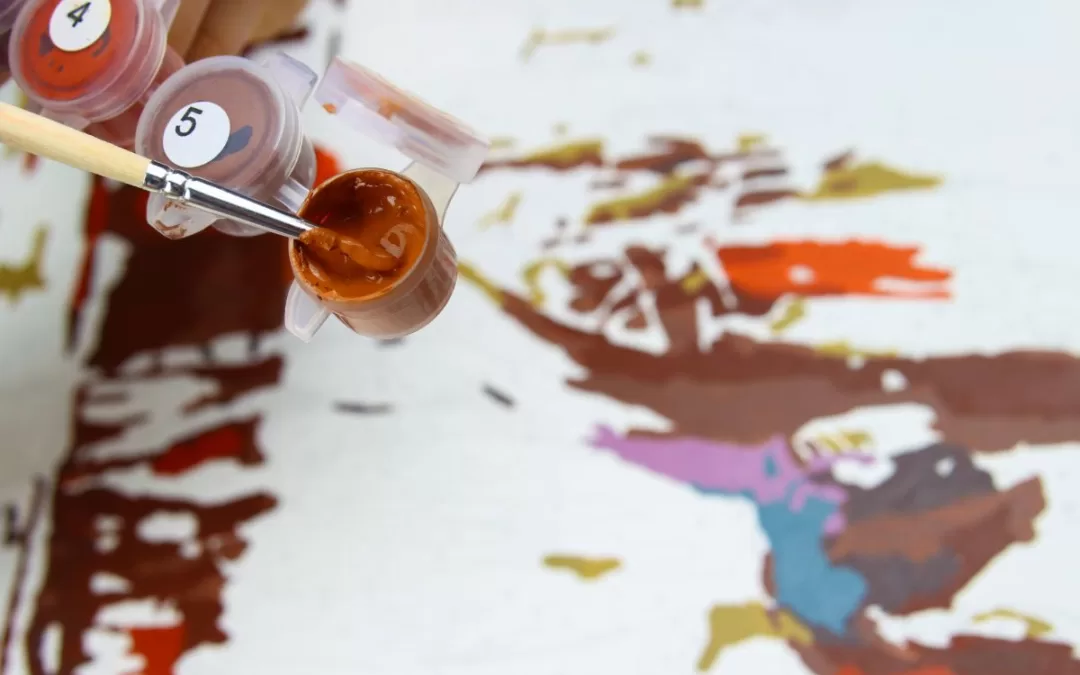
This is something that some might avoid, but the general advice is that you don’t want to add the acrylic paint directly onto the canvas, as the consistency can cause clumps to form on your painting and can be less forgiving.
You can dilute it slightly with 1-2 drops of water, which you can do by dipping your brush in water and then letting a drop fall off the end into your paint.
Be sure you mix this well, and you should have a lighter paint texture with a better spread.
If you add a bit too much water, you might not notice it at first, but when your painting dries, it might not do so evenly, and you’ll end up with a watercolour effect which doesn’t give off the grandeur effect of acrylic painting, which could leave you feeling disappointed.
You could try to avoid using water, but you will find yourself using more paint to cover one area, and if that number appears quite often, you run the risk of running out.
Getting replacements can be difficult as you’ll want to use the same shade of a certain colour, so everything matches.
Pay Attention To Your Paint
If you’ve gone too thick or light on a particular area, not to worry. You can dab the area with a kitchen roll and let it dry for a few minutes, then add another layer with the paint with better consistency, and as this dries, you shouldn’t see any mistakes.
When using transparent colours, this is even more important, as when you go over a section again, you remove the pigment, and the paint can act differently than other shades.
Be sure to test the colour before adding water to it to see how it sets.
You also have to consider that if you leave your painting for a while before returning to it, you may find a difference in the colours as they dry, as things like the climate and humidity can play a role in how it dries, so keep it covered until you return to it.
Keeping The Brushes Clean
This is important when we talk about the flow of your painting, as any drops from the paint water can react with the paint you use in different ways, where you could end up with a streak in a specific area that can be fixed by lightly dabbing the area with some tissue to remove moisture.
This is because you don’t need to use water in any area of your canvas, as a drier place to work with allows the paint to flow easier and avoids any streaks in your painting.
Some Tips For Your Painting
Now you have an idea of how water works in paint by numbers, there might be some other areas that may affect your colour, and these may require some patience and practice to work with, so each time you visit your painting, you can get straight to it.
Treating Dried Brushes
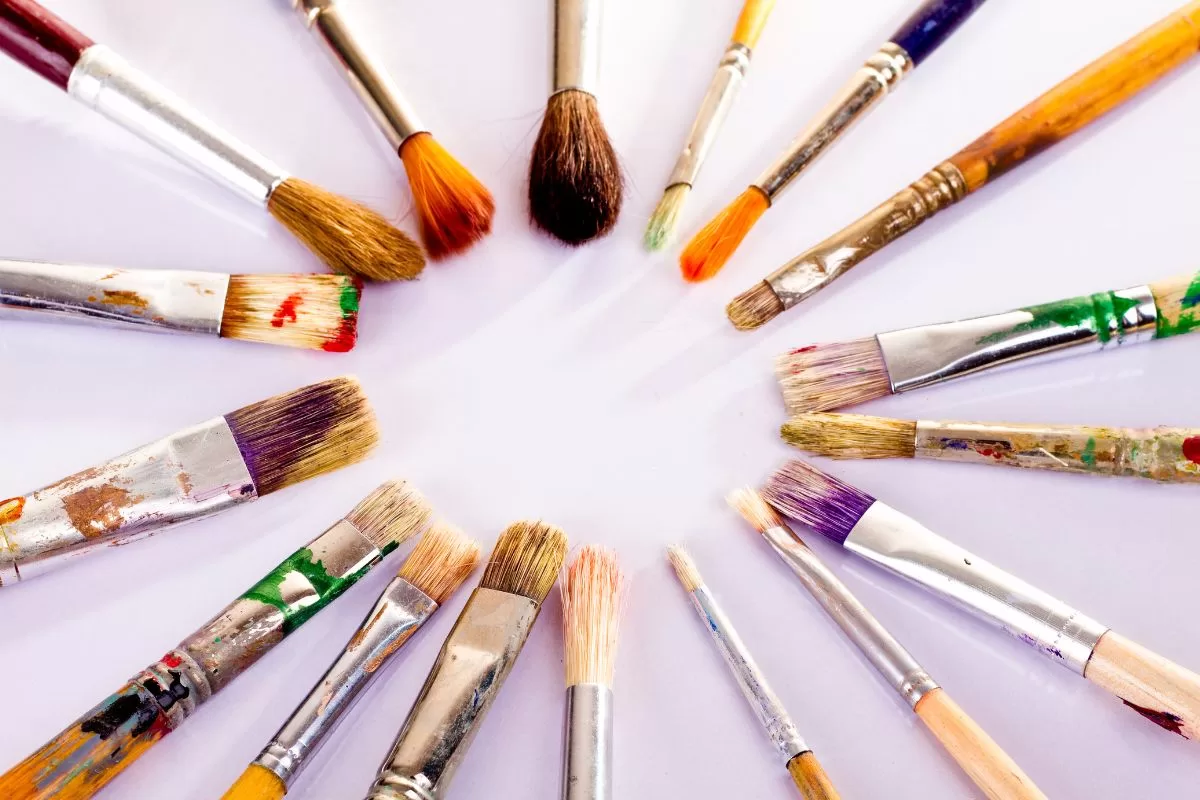
When you return to a painting after a few weeks, you might notice your brushes have gone stiff or have some remains of paint on them that can make them harder to use.
To fix any clogged brushes, you can dip your brush in some nail polish remover. This only needs to be done for a few seconds, and you’ll see how easily the dried paint comes off.
Before you use the brush again, make sure you give it a good rinse, as you don’t want the nail thinner to affect the rest of your painting.
When Using New Brushes
When you get your kit, you can find brushes are provided, which might take some getting used to as these can range from short tips to wide wedges to give you a different spread.
You can test them out on a separate piece of paper to see how the brush flows and how easy it is to control the spread, as some numbers on the painting can be tiny, and some require two colours.
This allows you to dry different strokes, and nothing stops you from going for other effects like blurring or shading, which you can pick up as you get more comfortable using the brushes.
How To Avoid Smudging
This can happen in two ways, and the first is if you overdo a certain section of the painting, as the canvas may not be able to absorb the excess paint, which can make clumps and smudge marks which you’re looking to avoid.
To avoid any of this, it’s best if you leave a section to dry out before you attempt to paint over it again, and you only need to dab a section lightly so you remove any clumps that can appear during the drying process.
Summary
If you keep these tips in mind, it’s easy to lose focus on why you’re painting in the first place, which can be to unwind or begin a new hobby.
So having fun with it means you can get a better outlook on things when you reflect on your finished painting, so if you find you’re not happy with the result, you can keep at it.

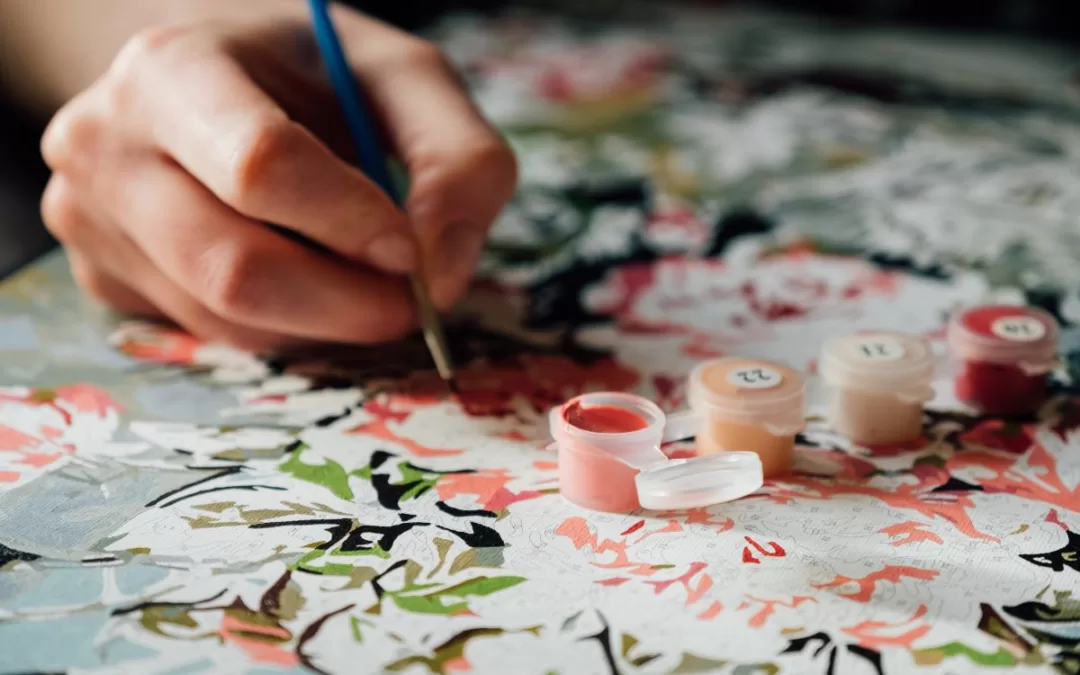
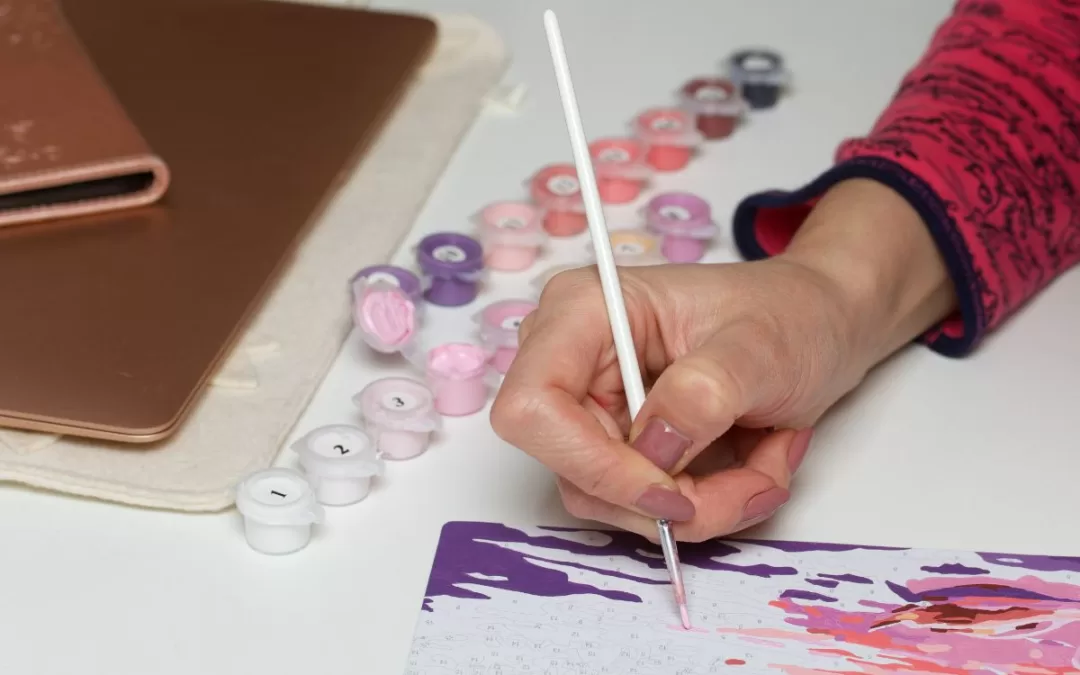


![How To Completely Cover The Numbers In Paint by Numbers [Helpful Hacks]](https://paintmynumbers.co.nz/wp-content/uploads/2022/12/How-To-Completely-Cover-The-Numbers-In-Paint-by-Numbers-Helpful-Hacks-1080x675.webp)